In summary:
- Success in BC rock gardens is less about the bike and more about mastering dynamic weight management to “float” over obstacles.
- Understanding local trail ratings, especially “tech” and “Expert” markers, is critical for progressive and safe skill development.
- Proper bike setup, particularly tire pressure tailored to wet roots and high-speed impacts, is a non-negotiable safety component.
- Off-bike preparation, including knowledge of lift systems and the high cost of out-of-province emergency services, is as crucial as on-bike skill.
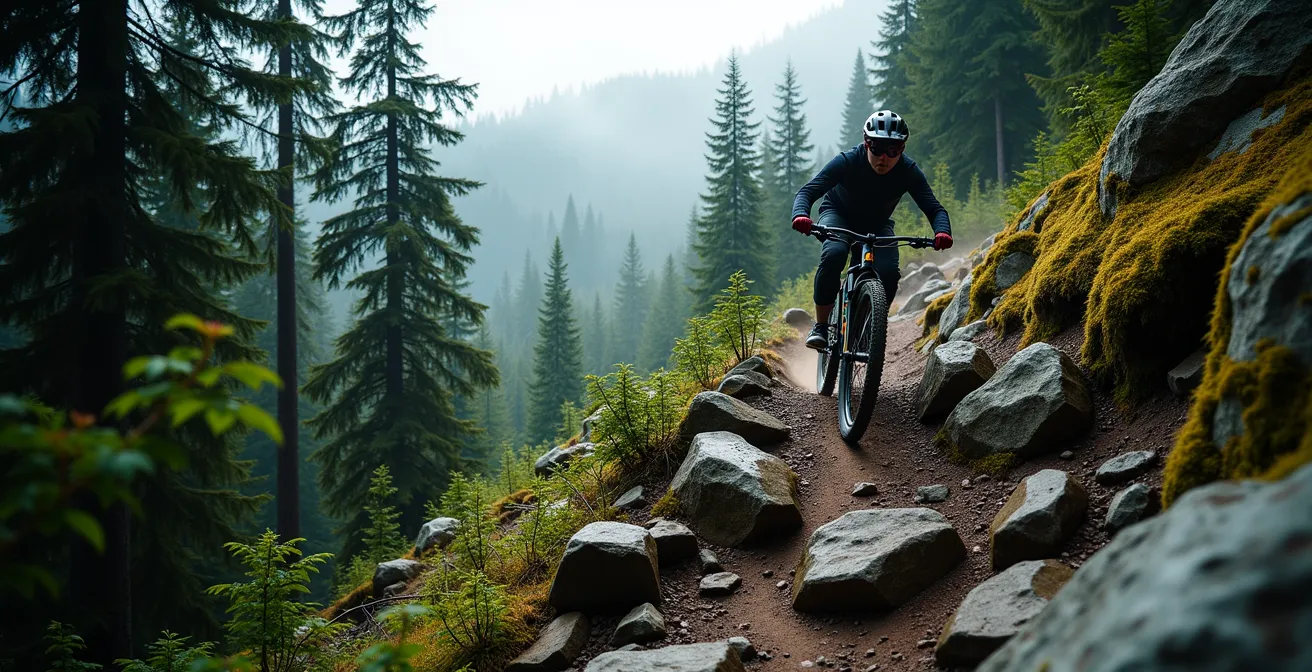
The first time an intermediate rider from the relatively smooth trails of the East Coast lays eyes on a steep, chunky, North Shore rock garden, the reaction is almost universal: a mix of awe and sheer terror. The scale is different, the features are relentless, and the consequences feel significantly higher. The common advice you’ve heard a thousand times—”look ahead,” “stay loose”—suddenly feels woefully inadequate. While these adages hold truth, they don’t capture the specific physics of navigating British Columbia’s unique and demanding terrain.
The secret isn’t just about having more suspension or more courage. It’s about a fundamental shift in approach. The key to conquering these technical sections isn’t plowing through them, but learning to partner with your bike and the trail itself. It’s a system of dynamic weight management and terrain interpretation that allows you to feel light, maintain control, and essentially “float” over the jank instead of being battered by it. This is a skill, not a brute-force attack, and like any skill, it can be learned and perfected with the right instruction.
This guide, structured from the perspective of a certified instructor, will deconstruct that system. We’ll move beyond the basics to cover the specific bike choices, body positioning errors, tire pressure strategies, and even the off-trail knowledge—like understanding lift systems and emergency costs—that define a safe and successful experience on BC’s world-class trails. It’s time to replace intimidation with a clear, actionable plan.
To help you navigate this comprehensive guide, we’ve broken down the essential knowledge into key sections. Below is a summary of what we will cover, from initial gear considerations to the finer points of technique and trail strategy.
Summary: Mastering BC’s Technical Trails
- Full Suspension vs Hardtail: Is a Full-Suspension Bike Mandatory in Whistler Bike Park?
- The Weight Shift Error That Causes Blowouts on High-Speed Descents?
- What Do Black Diamond Trails with a Yellow “Expert” Marker Mean?
- The Tire Pressure Mistake That Leads to Pinch Flats Mid-Trail
- How to Use the Bike Haul System Effectively on Crowded Lifts?
- The Ambulance Bill Surprise: Why a 10km Ride Costs $500?
- How to Surf the Tidal Bore in Moncton: Gear and Timing?
- How to Maximise Days at Whistler Using the Ikon Pass Without Blackout Dates?
Full Suspension vs Hardtail: Is a Full-Suspension Bike Mandatory in Whistler Bike Park?
For a rider new to BC, the first question is often about equipment. Can your trusty hardtail handle the legendary trails? The short answer is yes, but the better question is, *should* it? While a hardtail is an excellent tool for skill development on cross-country networks, the specific environment of a high-volume bike park like Whistler presents unique challenges. The park features a staggering nearly 5,000 feet of vertical drop serviced by five lifts, meaning you’re descending far more, and at higher speeds, than on a typical trail ride. This leads to repetitive, high-frequency impacts from braking bumps and rock gardens that a hardtail simply isn’t designed to absorb efficiently.
This is why local rental shops overwhelmingly recommend dedicated downhill (DH) or enduro bikes. These bikes aren’t a crutch; they’re the right tool for the job. Their robust suspension is designed to handle thousands of feet of high-speed descending, lap after lap, preserving both the bike and your body. Trying to keep up on a hardtail for a full day in the park often leads to excessive fatigue, a higher risk of component failure, and a generally less safe and enjoyable experience.
This comparison shows why a full-suspension bike, specifically a DH or long-travel enduro model, is the superior choice for the specific demands of the Whistler Bike Park.
| Terrain Type | Full Suspension | Hardtail |
|---|---|---|
| Braking Bumps (High Traffic) | Excellent – Maintains control | Poor – Dangerous instability |
| High-Speed Rock Gardens | Superior absorption | Risk of rim damage |
| Technical Climbing | Good traction | Better power transfer |
| Park Laps (Full Day) | Recommended | Not recommended |
| XC Network | Good but overkill | Ideal for skill development |
The Weight Shift Error That Causes Blowouts on High-Speed Descents?
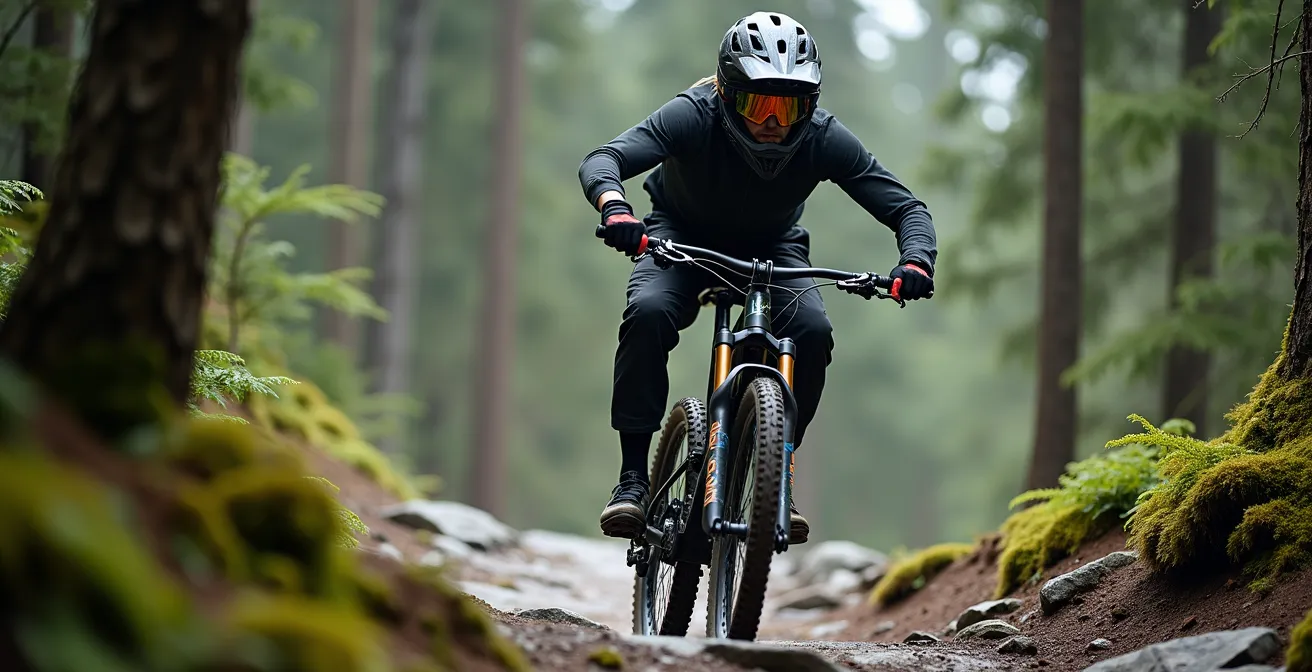
The single most common mistake riders make in steep, technical terrain is incorrect weight distribution. The instinct when facing a steep descent is to get your weight as far back as possible, often behind the saddle. While this feels safe, it’s a critical error. This overly rearward position unweights the front tire, drastically reducing its ability to grip and steer. When the front wheel loses traction in a rock garden, the result is often a washout or an “over-the-bars” crash. The key is not a static rearward position, but dynamic weight management centered around a strong, low “attack position.”
This athletic stance allows you to absorb impacts and actively move the bike underneath you. As a leading instructor emphasizes, it’s the foundation of control. In the words of Jeremiah ‘Scratch’ Stone of Ninja Mountain Bike Performance:
Body position is everything when riding rock gardens. When World Cup DH racers have a bobble or crash, it almost always comes back to a break down of body position or vision. A strong low ready position is crucial for entering rock gardens. You need your hips down (not back), elbows and eyes up, back flat, knees bent and out (not caved in or pinching), and your feet even. This position gives you the most resilience and range of motion for when the bike starts to move around.
– Jeremiah ‘Scratch’ Stone, Ninja Mountain Bike Performance
From this neutral position, you can make micro-adjustments: shifting slightly rearward for a steep chute, but returning to center to weight the front wheel for a corner. You learn to “unweight” the bike over the roughest sections, letting it float, and then regain traction in smoother spots. This active, fluid motion is the opposite of the rigid, defensive posture that causes so many crashes.
This technique of unweighting and shifting allows you to maintain speed, as skipping over the tops of rocks is far smoother than tracking into every hole. It’s about being a pilot, not a passenger.
Your Action Plan: Auditing Your Rock Garden Technique
- Body Position Check: Before dropping in, consciously adopt the “low ready” attack position. Are your hips down, elbows up, and back flat?
- Line Choice Scan: Identify your intended line through the garden. Look for the smoothest path and spots where you can regain traction.
- Unweighting Practice: On a smaller obstacle, practice lifting the bike with your legs and arms, aiming to float over it lightly rather than smashing into it.
- Momentum Control: Focus on maintaining a consistent speed. Use the smoother sections to manage your braking so you can release the brakes in the roughest parts.
- Vision Discipline: Force yourself to look all the way through to the exit of the rock garden, not down at the rock directly in front of your wheel.
What Do Black Diamond Trails with a Yellow “Expert” Marker Mean?
Navigating BC trails safely requires learning a new language, and trail signage is a key dialect. While the standard Green Circle, Blue Square, and Black Diamond rating system is used, Whistler adds two crucial designators: ‘freeride’ and ‘tech.’ More importantly, some black and double-black diamond trails feature a yellow hexagonal “Expert” marker. For a visitor, misinterpreting this sign can have serious consequences. This marker does not simply mean “more difficult”; it signifies the presence of mandatory, non-rollable features or exceptionally high-consequence exposure.
For example, a famous trail like A-Line is rated as a double black diamond but lacks the Expert marker because its large jumps, while intimidating, are all designed to be rollable. A rider can safely ride over them at a slower speed. In contrast, Crabapple Hits, also a double black, carries the Expert marker because its massive jumps have mandatory gaps that *must* be cleared. There is no ride-around option. Similarly, a technical trail like Goat’s Gully earns its Expert rating not from jumps, but from extreme exposure and “no-fall” zones where a mistake would be catastrophic. Understanding this distinction is a core part of terrain interpretation and making safe choices.
An instructor’s advice is always to follow a path of progressive exposure. Never attempt a trail with an “Expert” marker until you have confidently ridden multiple trails of the same difficulty level without the marker and have mastered the specific skills required (e.g., jumping, drops) in a controlled skills park environment. Your progression should be methodical:
- Start with machine-built ‘flow’ trails to get comfortable with speed and bermed corners.
- Progress to ‘technical’ trails to develop skills on natural features like roots and rocks.
- Master single black diamond trails before attempting double blacks.
- Only consider “Expert” marked trails after receiving professional coaching or mastering mandatory features in a safe setting.
The Tire Pressure Mistake That Leads to Pinch Flats Mid-Trail
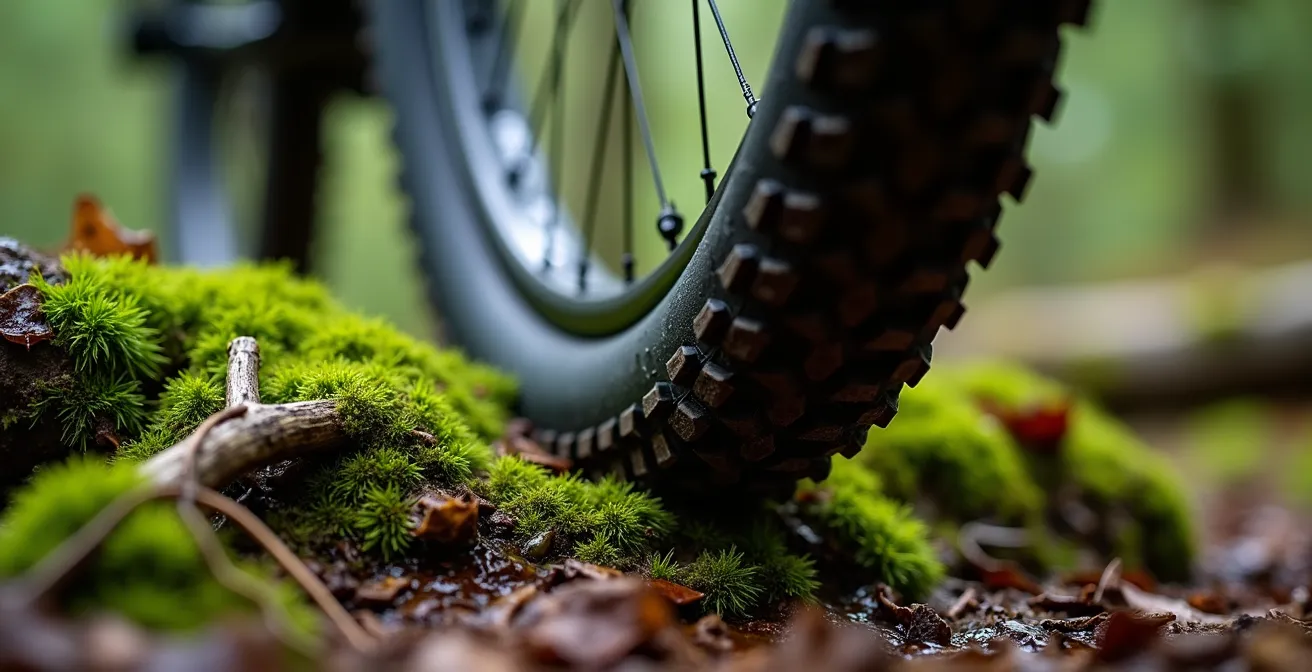
One of the most overlooked aspects of bike setup for riders new to BC is tire pressure. The pressure that worked perfectly on your hard-packed or loamy home trails can be a recipe for disaster on the wet roots and sharp-edged rocks of the Coast Mountains. Running too much pressure will cause your tires to deflect off slippery features, offering almost no grip. Running too little pressure, however, is an open invitation for a pinch flat—where the tire compresses so much on a sharp impact that the inner tube is snake-bitten against the rim, causing an instant flat.
Finding the sweet spot is crucial. The goal is to run the lowest pressure possible for maximum grip without risking rim damage or pinch flats. For the varied conditions in BC, this often means different pressures front and rear, and adjusting based on the specific trail network. For instance, the high-speed, repetitive impacts of the Whistler Bike Park demand higher pressures to prevent bottoming out, while the slow, technical jank of the North Shore calls for lower pressures to maximize grip on wet roots and granite slabs.
While general tire pressure recommendations suggest a range of 25-35 PSI for rock gardens, this is highly dependent on rider weight, tire volume, and whether you use tire inserts like CushCore. These foam inserts provide a buffer against the rim, allowing you to run much lower pressures safely. For any serious riding in BC, they are a highly recommended investment.
A good starting point for a tubeless setup is provided in the guide below. Always start here and adjust by 1-2 PSI per ride until you find what feels right for you.
| Terrain Type | Front PSI | Rear PSI | Special Considerations |
|---|---|---|---|
| Whistler Bike Park | 28-30 | 30-32 | Higher volume for repetitive impacts |
| North Shore Technical | 22-24 | 24-26 | Lower for wet root grip |
| Interior Dry Trails | 26-28 | 28-30 | Balanced for speed and traction |
| With Tire Inserts | 18-22 | 20-24 | CushCore/Rimpact allows lower pressure |
How to Use the Bike Haul System Effectively on Crowded Lifts?
The Whistler Bike Park is a marvel of logistics, but on a busy summer weekend, the lift lines can be intimidating. Knowing how to navigate the bike haul system efficiently is a skill that maximizes your riding time and reduces frustration. The first rule is to avoid the main choke point—the Fitzsimmons Express at the base—during peak hours (10 AM to noon). Savvy riders use alternative access points or ride schedules. The Creekside Gondola offers a separate entry point to the park, while those already in the Fitz Zone should escape to the upper mountain via the Garbanzo Express during the mid-day rush, saving the popular lower mountain trails for the evening when lines thin out.
The physical act of loading your bike also has a technique. Being prepared and smooth not only speeds up the line for everyone but also prevents fumbling and potential bike damage. It’s a simple but crucial part of the bike park ecosystem. The process is straightforward if you follow a few key steps.
Follow this checklist for a smooth loading experience every time:
- Have your pass out and visible well before you reach the gate to avoid holding up the line.
- As you approach the loading area, position your pedals horizontally (3 and 9 o’clock) to prevent them from snagging the chair or loading mechanism.
- Gently unweight your bike just as the lift attendant guides it onto the tray or as the chair hook approaches. This small lift helps it seat smoothly.
- A unique Whistler custom is that it’s common practice not to close the safety bar on the chairlifts. The pace is relaxed, and emergency stops are less abrupt than in many European resorts.
- Plan your last run of the day to end away from the main village base to avoid the mass exodus when the lifts close.
This “inside knowledge” is part of a holistic approach to safety and enjoyment. Speaking of safety, it’s vital to understand what happens when things go wrong.
The Ambulance Bill Surprise: Why a 10km Ride Costs $500?
This is the part of the safety briefing no one likes, but every out-of-province visitor absolutely must hear. An injury on the trail is bad enough; a five-figure medical bill to go with it is a catastrophe. As a visitor to British Columbia, you are not covered by the provincial Medical Services Plan (MSP) for all costs. While basic hospital care may be covered by your home province’s plan, ambulance services are not. If you require a ground ambulance, the fees can be staggering. A look at the BC Ambulance Service charges show that a non-resident faces a flat rate of $848 per transfer, compared to just $80 for a BC resident.
It’s crucial to understand the different emergency response systems. If you are injured *within* the bike park boundaries, your first call should be to Whistler Bike Patrol. Their services are included with your lift ticket. For a true backcountry emergency outside the park, call 911. This can activate a Search and Rescue (SAR) team, whose services are, remarkably, free in British Columbia. However, if that SAR response involves a BC Ambulance Service helicopter or ground crew transport to the hospital, the meter starts running.
As one study on injuries at Whistler Bike Park noted, the costs add up quickly. As researchers highlighted in the Wilderness & Environmental Medicine journal:
The median charge of nearly C$1000 highlights the expensive nature of many of these injuries.
– Zachary Ashwell et al., The Epidemiology of Mountain Bike Injuries at Whistler Bike Park
Your action plan is simple but non-negotiable:
- Verify your travel insurance *before* you leave home. It must explicitly cover “extreme sports” or “lift-accessed mountain biking.” Many basic policies do not.
- Program the Whistler Bike Patrol number into your phone: 1-604-905-2324.
- Understand your location. Are you in the park, or in the surrounding backcountry trail network? This determines who you call.
- For in-park injuries, call Patrol. For true backcountry emergencies (e.g., Cheakamus, Westside trails), call 911.
How to Surf the Tidal Bore in Moncton: Gear and Timing?
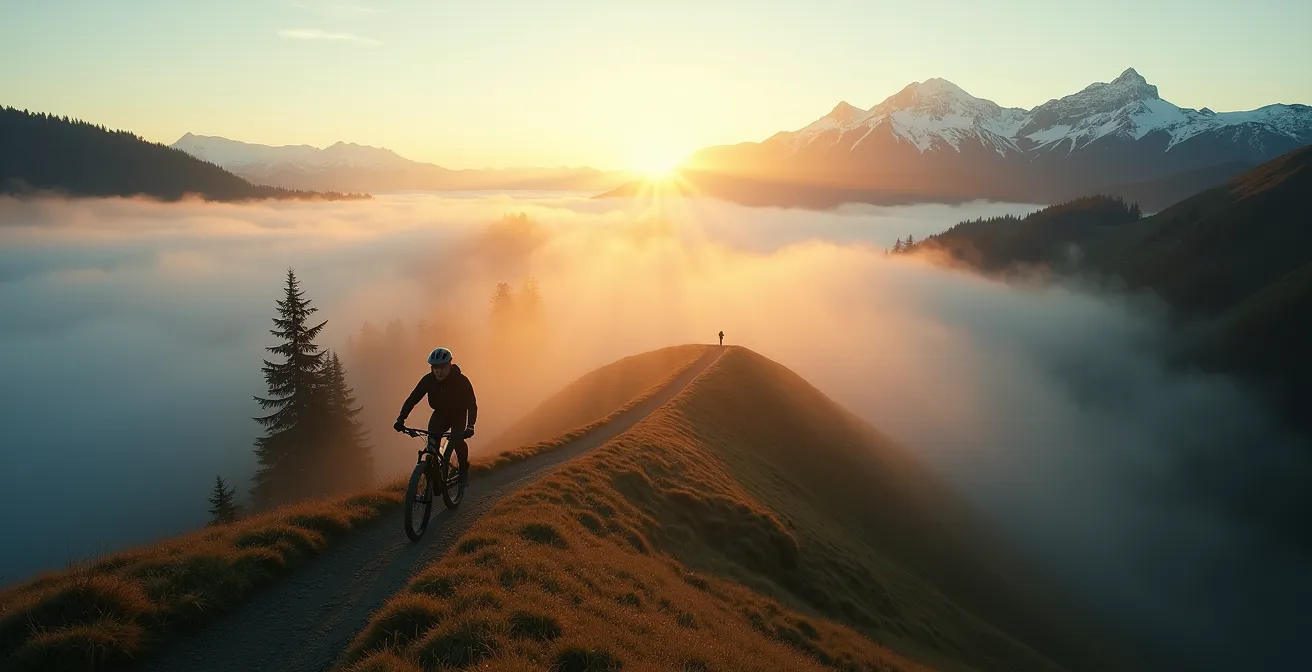
While the title might evoke images of New Brunswick’s famous tidal bore, in the lexicon of British Columbia mountain biking, “surfing” refers to a completely different, yet equally fluid, skill. It describes the feeling of floating through deep, soft, loamy sections of trail that are a hallmark of BC’s forests. Rather than fighting for grip, you learn to use the natural shapes of the trail—the supportive sides of ruts and banked-up dirt against fallen trees—like a surfer uses the face of a wave. This “loam surfing” is a quintessential BC riding technique that relies on terrain interpretation and maintaining momentum.
Unlike hard-packed trails, loam is forgiving but requires a light touch. You can’t chop at the controls or make sudden, jerky movements. Instead, you need to look far ahead, anticipate the flow of the trail, and use smooth, arcing turns to carry your speed. The bike will drift and slide in a controlled manner, and learning to trust this movement is key. The technique is less about aggressive cornering and more about guiding the bike along the path of least resistance, letting it float on top of the soft dirt.
Of course, this magical experience is entirely dependent on conditions. “Hero dirt,” the perfect state of loam, is a fleeting thing. It’s a matter of timing and local knowledge. To get the most out of these trails, you need the right gear and the right timing.
- Tires: Choose an aggressive tire with tall, widely spaced knobs, like a Maxxis Shorty. These are designed to dig into soft ground and clear mud, providing superior float and grip.
- Suspension: Set your suspension with slightly faster rebound. This helps the wheels return to the ground more quickly, helping the bike “float” on top of the loam rather than getting bogged down.
- Timing: The best conditions are typically 12 to 48 hours after a solid rain. This is when the dirt is moist and tacky, but not muddy. Avoid riding when it’s too wet (which damages the trail) or too dry and dusty (when it becomes “blown out” and offers no grip).
Key takeaways
- Technique Trumps Technology: Mastering the “low ready” position and dynamic weight control is more impactful for safety and speed than any bike upgrade.
- Local Knowledge is a Safety Tool: Understanding BC-specific trail ratings, lift strategies, and emergency procedures is as crucial as physical skill.
- Systemic Safety is Non-Negotiable: Your safety net includes proper bike setup (especially tire pressure), comprehensive travel insurance, and a clear emergency plan.
How to Maximise Days at Whistler Using the Ikon Pass Without Blackout Dates?
For many visiting riders, an Ikon Pass is the golden ticket to Whistler. However, with a limited number of days (typically 5 or 7), the goal is to extract maximum value. This isn’t just about logging the most vertical feet; it’s about getting the highest quality runs in the safest manner. A key piece of data from a Vancouver Coastal Health study revealed that mountain bike injuries are more likely to occur in the afternoon. This is often attributed to cumulative fatigue; because lift-accessed riding involves less climbing, riders may not accurately gauge their declining energy and awareness levels after several hours of intense descending.
A strategic Ikon Pass holder leverages this information. Instead of burning a precious pass day on a crowded Saturday, use it on a weekday morning. You’ll face shorter lift lines, less trail traffic, and you’ll be riding when you are freshest and most focused. Save the weekend afternoons for exploring the vast and free trail networks in nearby Squamish or Pemberton, or for a well-deserved rest day.
Maximizing your pass is about smart planning, not just hard charging. The park is open from 10 AM to 8 PM in the summer, offering a huge window to be strategic. Arriving after the morning rush, around noon, can also be an effective strategy as crowds often thin out for lunch.
Here is a simple framework for getting the most out of your pass:
- Prioritize Weekdays: Use your limited days exclusively on weekdays to avoid peak crowds and get significantly more runs in.
- Check the Forecast: Whistler Blackcomb’s alpine weather can be unpredictable. Check the forecast before committing a pass day to avoid using it in a torrential downpour.
- Ride Fresh: Plan your bike park days for the beginning of your trip when you are least fatigued.
- Leverage the Hours: Consider arriving after 1 PM when morning crowds have dissipated and ride until the lifts close.
- Sightseeing Value: Remember that your pass also grants access to the Peak 2 Peak Gondola. Use this for incredible sightseeing on a rest day without “wasting” a bike day.
With this comprehensive approach—combining proper technique, intelligent planning, and a deep respect for the terrain—you are no longer just a visitor. You are an informed rider, ready to safely progress and experience the best of what BC mountain biking has to offer. Start slow, build your skills progressively, and never stop learning.